[embed]https://www.youtube.com/watch?v=Y7tED_A8kC4&t=3s[/embed]
How you want to display your remittance
Your remittance can be at:
- Property Owner level
- Per property
- Per unit
This is linked to the article on how to set your owner's remittance preference and how to apply a management fee. Once chosen you are now in the position to remit.
Workflow
How to remit
Step 1 Go to Financials > Property Owner Remittance Remitting will be allowed assuming there is a positive balance to remit. If you have a negative balance un-tick those charges and just remit the rent and management fee. Those charges will remain un-remitted and will remain at the PO remittance screen for remittance at a later date
*Note: Please make sure your remittance values are correct before you remit in batch* This can be done by: "select transaction and remit" and viewing the listed transactions on each remittance line
Confirm transactions to be remitted and add any adjustments

Make any float adjustments, enter bank details and remittance date
Step 2- Print in batch Go to Financials > Payments List
Printing the PDF of each Payment record
Selecting a template, it is a template of the enhanced report, for creating the PDF
Step 3 share via email Tick and share
Preview option on this page. Otherwise, continue
Leave this screen blank unless you want to personalize the outgoing email.
The owner will receive an email with PDF attachments and a link to download
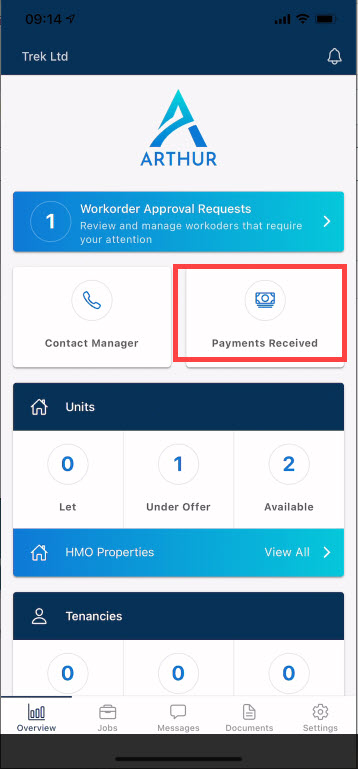
Alternatively, the owner can access the remittance via the appPlease note the attached document to the remittance on the owner app is a result of the print created on the payment list


Step 4. Export payments CSV in batch to import into a bank account
Step 5 set as paid Once you have made the payments to the owners. Update the payments in Arthur to "Set as paid". To view paid remittances you will need to select the "Show paid" checkbox.

Attachments (20)


Was this article helpful?
That’s Great!
Thank you for your feedback
Sorry! We couldn't be helpful
Thank you for your feedback
Feedback sent
We appreciate your effort and will try to fix the article